If you’ve been wanting to automate parts of your workflow with n8n but didn’t want to pay for hosting, this guide is for you. I’ll show you exactly how I set up a self-hosted n8n server for free using AWS’s Free Tier, Docker, and Caddy. It’s secure, stable, and it actually works.
No jargon. No unnecessary steps. Just a clear, tested process.
What You’ll Have by the End
A fully functional n8n automation server hosted on AWS
A domain secured with HTTPS
Persistent storage so your workflows survive reboots
Zero hosting costs (as long as you stay within AWS Free Tier limits)
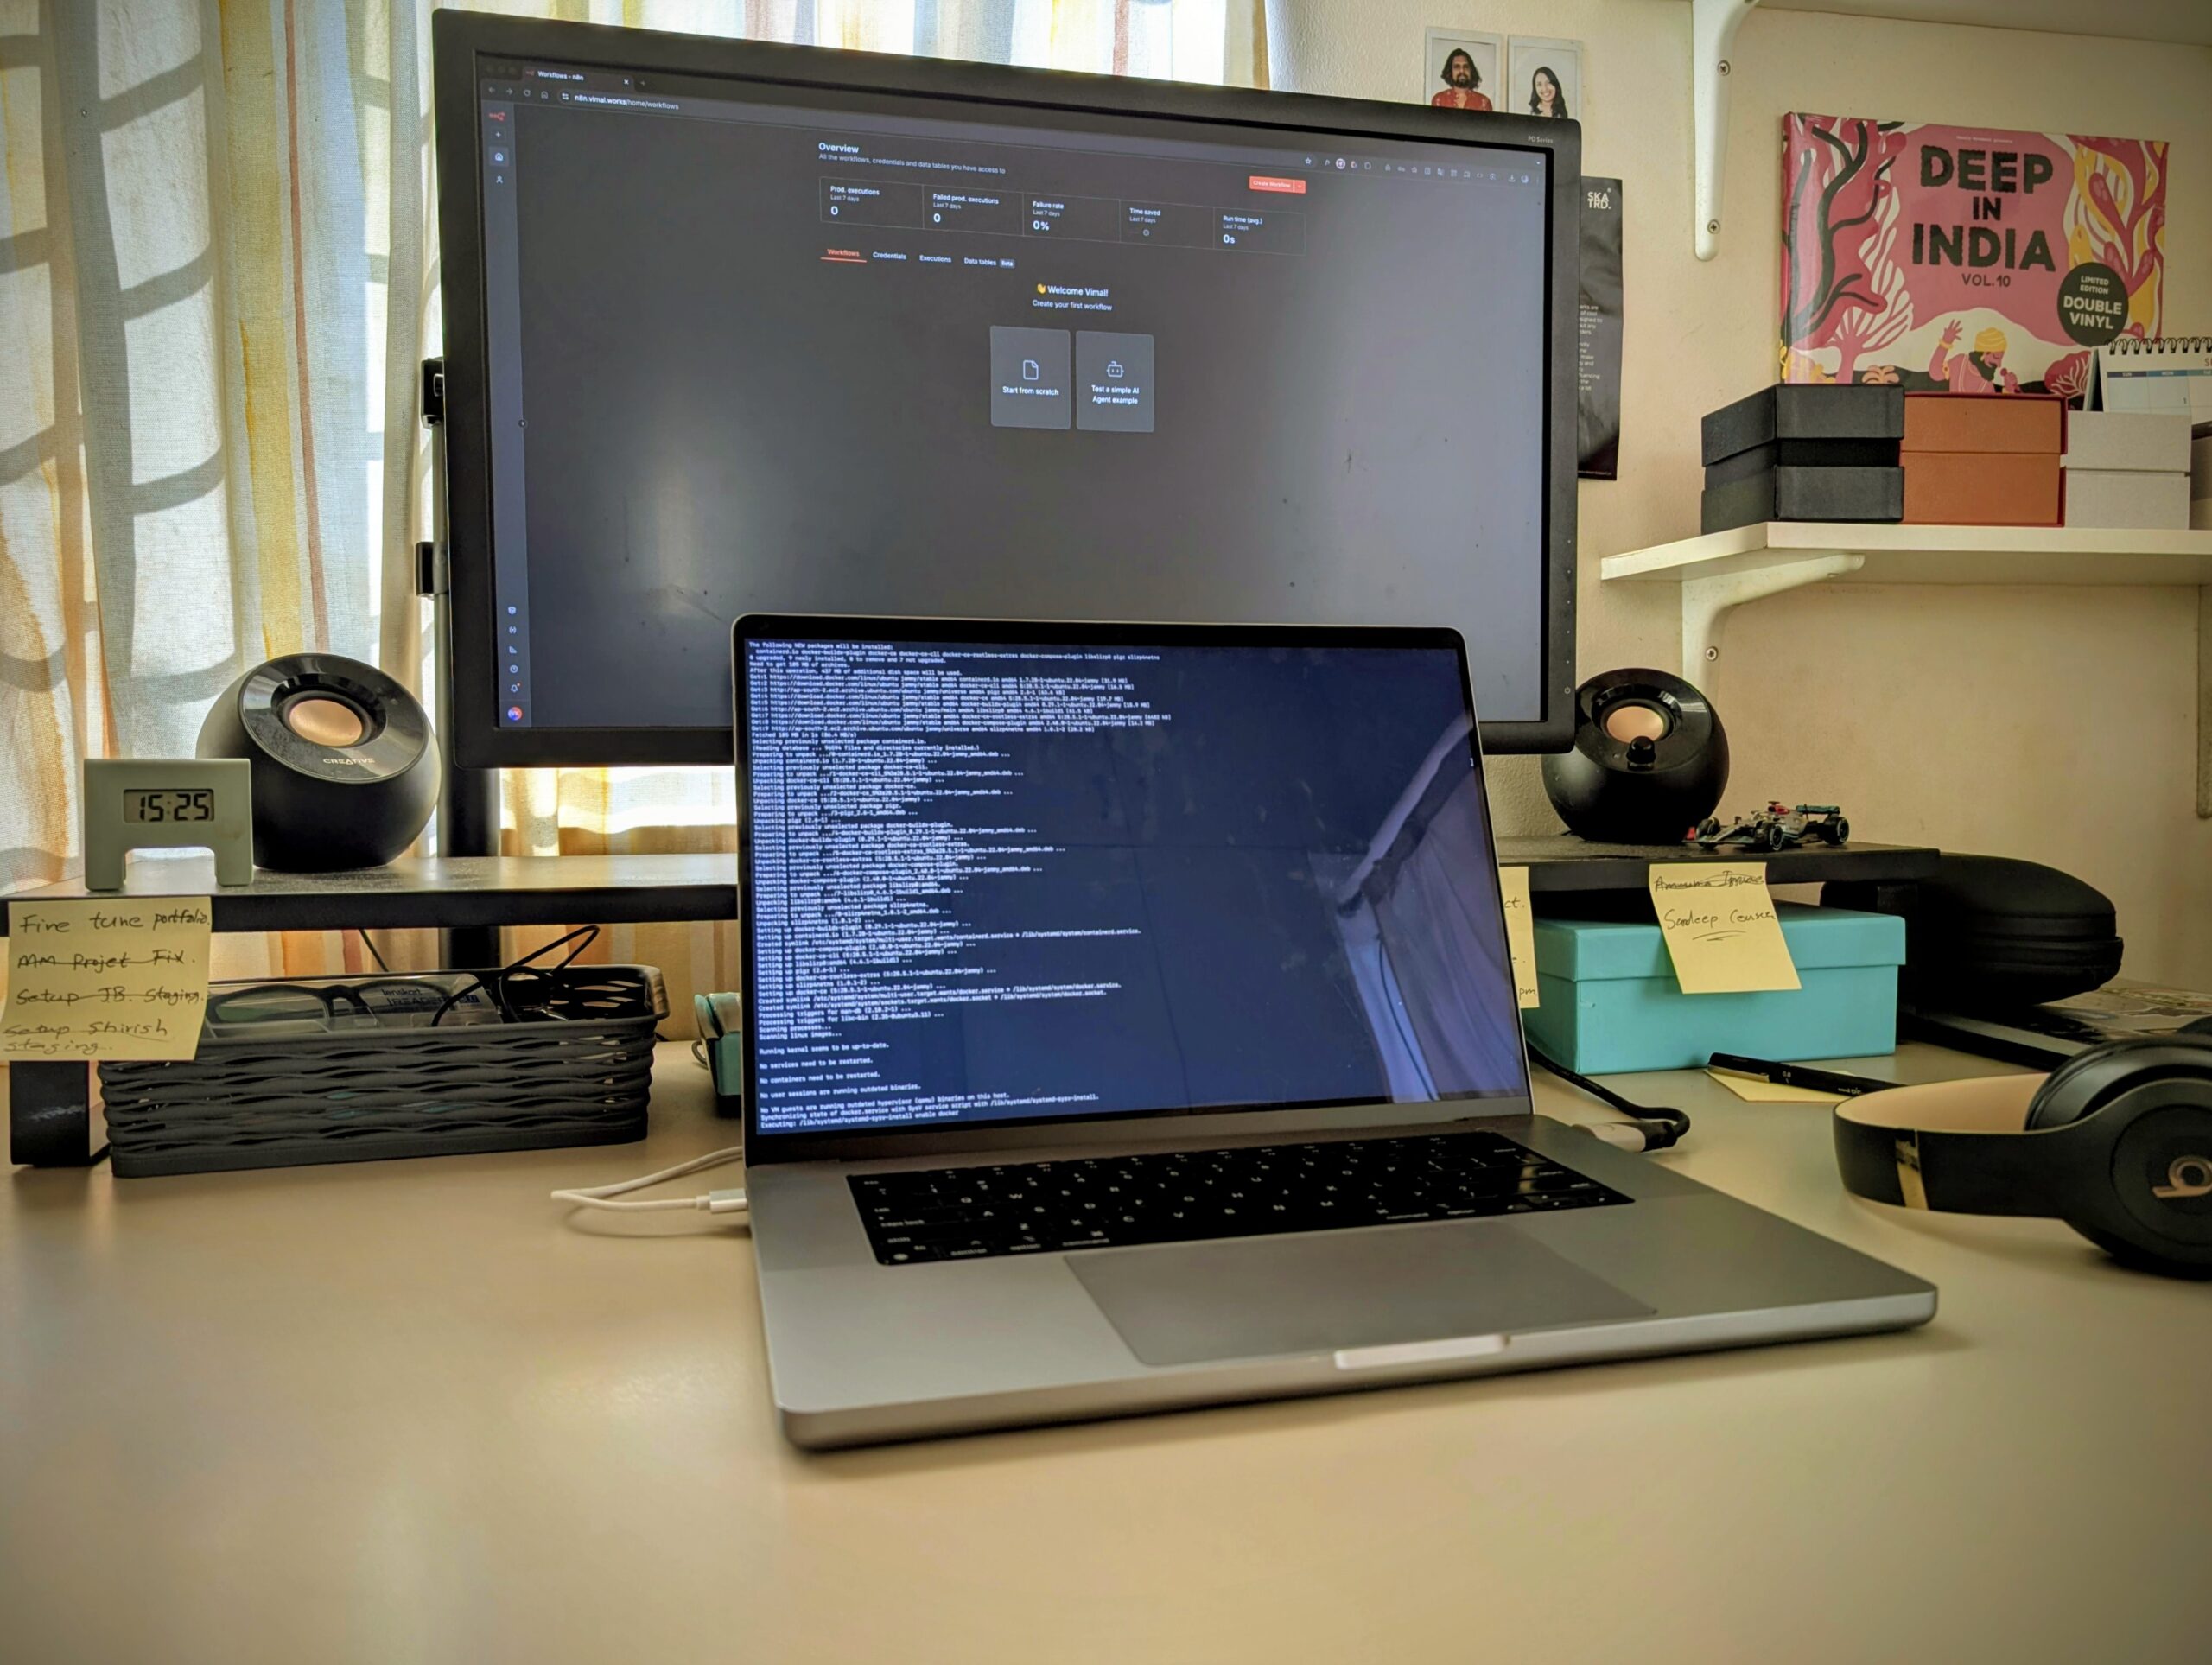
Why n8n?
Think of n8n as an open-source version of Zapier. You can connect anything: WordPress, ChatGPT, Notion, Airtable, or your favorite APIs. It gives you the same drag-and-drop automation flexibility without the subscription fees or usage limits. Once it’s running on your own server, you own it completely.

What You’ll Need
A free AWS account
A domain you control (like yourdomain.com)
Basic familiarity with using a terminal
Step 1: Launch an AWS EC2 Instance
- Go to AWS Console → EC2 → Launch Instance
- Choose Ubuntu Server 22.04 LTS (64-bit x86)
- Instance type: t3.micro or t2.micro
- Create a new key pair (.pem) and download it
- Set security rules:
- SSH (22): only your IP
- HTTP (80): anywhere
- HTTPS (443): anywhere
- Storage: 16 GB gp3 volume
- Launch the instance
Step 2: Assign a Static IP
Go to EC2 → Elastic IPs → Allocate → Associate
Link the new Elastic IP to your instance
Note the IP (for example, 16.112.40.143)
Step 3: Point Your Domain
In your DNS settings:
| Type | Name | Value | TTL |
|---|---|---|---|
| A | n8n | 16.112.40.143 | 3600 |
After a few minutes, test with:
ping n8n.yourdomain.comIf it resolves to your IP, you’re good.